Tutorial: Connect an Arduino to a Crystalfontz 533 Keypad LCD
In our last post, we talked about connecting a Raspberry Pi to a Crystalfontz LCD.
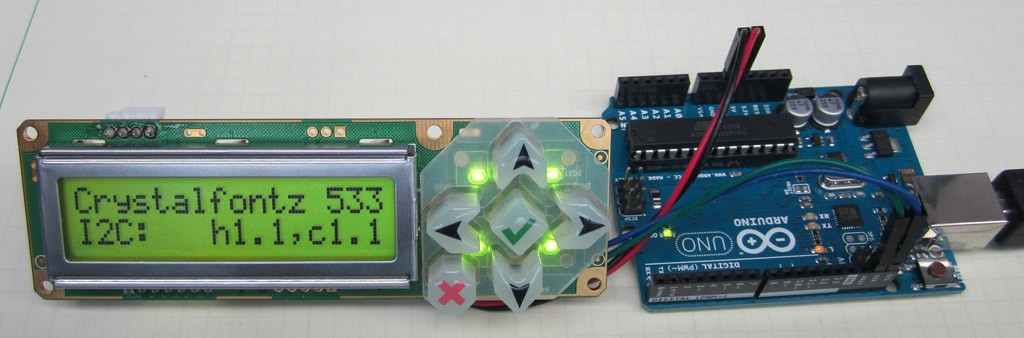
In this post, we look at connecting an Arduino Uno with a CFA533 I2C LCD with a keypad. This gives you the ability to output and control your Arduino via I2C using a character module with a keypad interface.
Let’s Get Started
Step 1: Electrical Connections on the Arduino
- +5v, GND, SDA and SCL
(SDA = Serial Data, SCL = Serial Clock)
Step 2: Connect to CFA533
- via the 10-pin connector
Step 3: Jumper Check – make sure JP13 is closed
- This ensures that the module will get its 5v power from the Arduino.
Step 4: Power Up!
Step 5: Software
- We have sample CFA-533 I2C project for the Arduino: I2C_533_Test.ino
Step 6: Sample Code
- Use the functions included in the .INO file linked above to write text to the display, read the keys, or any other function supported by the CFA-533.
For detailed step-by-step pictorial instruction, please see our tech support forum thread on this topic.
Questions?
For any questions about connecting a Crystalfontz LCD to an Arduino, what LCD is the best choice for your application, or any other questions (technical or availability), please contact our knowledgeable and friendly support staff via email, phone, or chat.