Product
128x56 Transparent OLED Display
Part Number: CFAL12856A0-0151-B
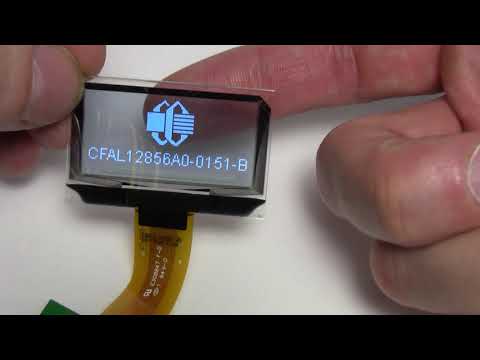
Brand new, cutting-edge transparent OLED display! Also known as TOLED. 128x56 1.51 inch! As you can see from the images this OLED is super-bright, monochrome display. The pixel color is a light-blue when lit and about 70% transparent when not lit. There are actually 64 rows, however the bottom 8 rows have the "getter" so those pixels aren't viewable from the back.This display supports, parallel, I2c, and SPI interfaces. We powered it up using an 3.3v Seeeduino/Arduino UNO Clone and a small break-out board. This little OLED uses the super common Solomon Systech SSD1309 integrated controller.
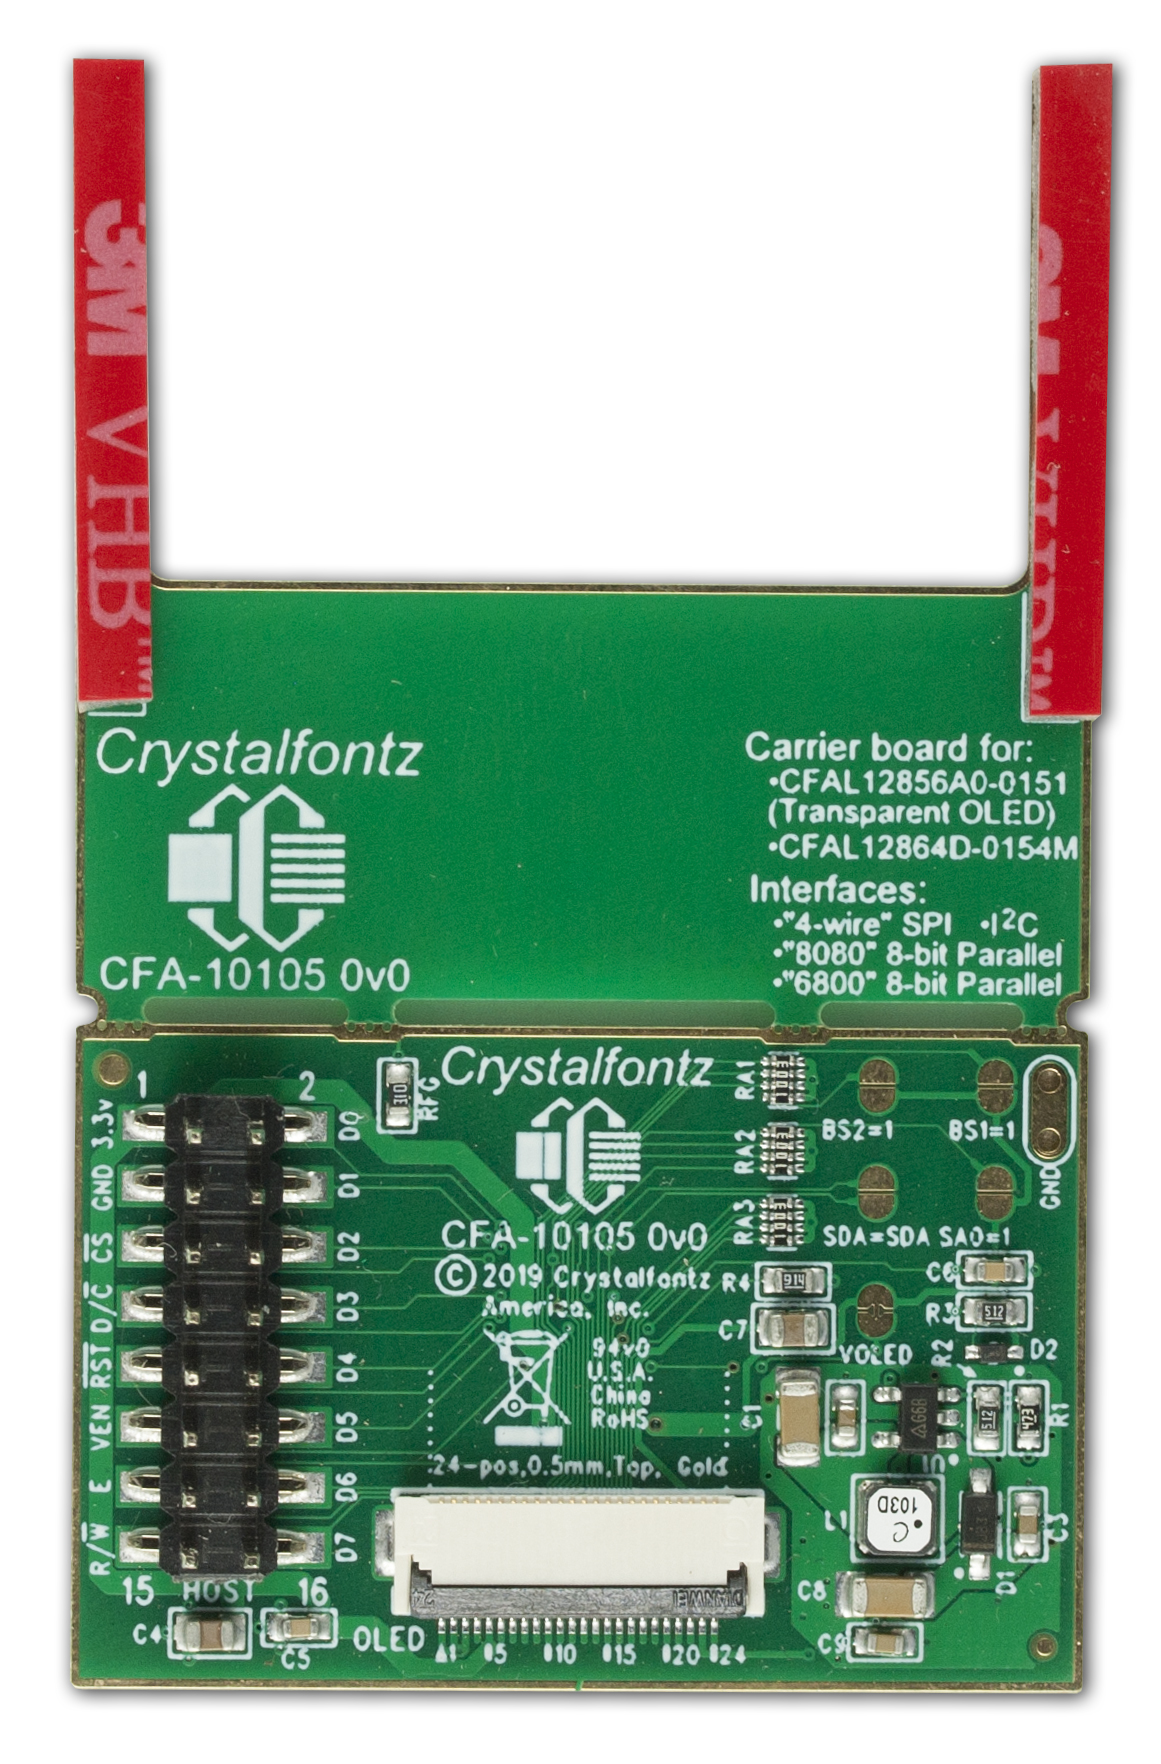
Check out the schematic in the datasheet to see how to wire this transparent display to your microcontroller. You'll need a few easily sourced components.
This is a 3.3v device, plugging it into 5v can permanently damage this module.
If you think an LCD would be a better fit, we have a 1.1" Transparent LCD and a 2.2" Transparent LCD, both are super low-power.
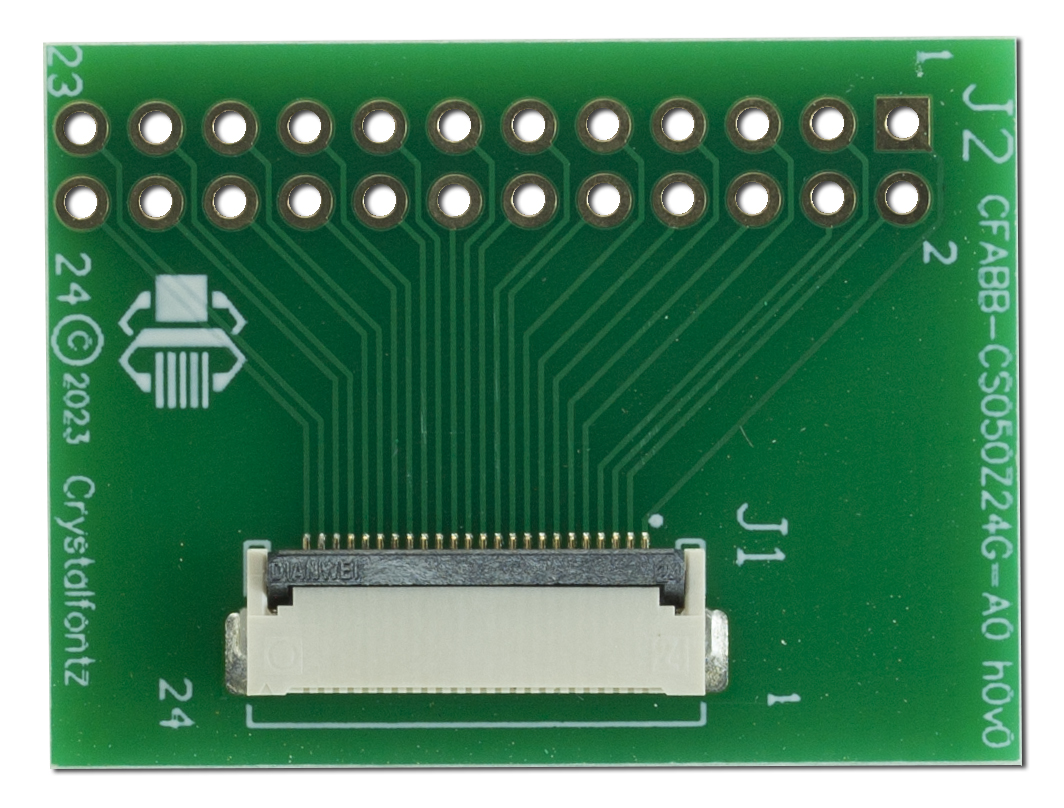
Looking for more information? Check out our Transparent OLED Breakout Board: FAQs
Additional Options
Buy this transparent OLED display in a development kit and save time!
Additional Resources


Other components worth
considering


Finding the LCD you need?
Need some help?
- Search by Tech Spec
Search by size, controller, interface, etc - Ask our product support team
We're here to help! 8:30-4:30 PST 888.206.9720 - Product Notices
Sign-up for part change or update notices - Newest products!
We're adding new displays all the time.
Purchasing Resources
- Quick Order
Know your part number? Checkout fast! - Request a Quote
Get pricing and lead time info! - Our ISO 9001:2015 Certificate
Of course we're ISO 9001:2015 certified - Conflict Mineral Reporting Template
Download our latest CMRT - California Prop 65
Proposition 65 Information - Payment Information
We accept many payment methods
Builder Resources