The Best OLED Displays For Any Project
We carry a large selection of USB LCDs, graphic LCDs, character LCDs, OLED Displays, TFT Display Modules, ePaper Displays and EVE Accelerated TFT Displays. If you're looking for something we don't have, please let us know and we'll do our best to find it.
 USB LCD Displays
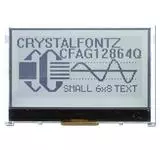 Graphic LCD Displays
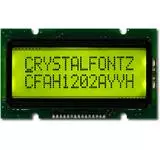 Character LCD Displays
 TFT LCD Screens
 OLED Displays
 ePaper Displays
Why Choose Crystalfontz America for LCD Displays?
We understand getting you a working solution quickly is paramount, and we offer top-notch products, engineering support and logistics to make that happen.
Crystalfontz America is the leading supplier of LCDs, TFTs, OLEDs and, ePaper display modules and LCD accessories.
We specialize in providing our customers the very best in electronic display solutions and support.

As an ISO 9001:2015 certified company, we know the importance of quality. No matter what type of display, or LCD module, we can help you get the best display solution for your product or project.
Crystalfontz has been an LCD supplier since 1998 and has supplied innovative display solutions to everyone from small do-it-yourself hobbyists and builders to many top-tier companies. Our facility is located in Washington State and we ship LCD display modules around the world.
Exceptional Quality & Support
Short Lead Times
Great Pricing and Options

Why Hobbyists & Creators
Choose Crystalfontz
Single & Small Quantity Orders
Excellent Resources & Support
Variety of Kits Available

Why Engineers & Manufacturers
Choose Crystalfontz
Detailed Specifications & Renderings
Reliable Manufacturing & Supply Chain
Quantity Discounts
The Latest from our LCD Blog
New Products – Spring 2024
As always, the Crystalfontz team has been working to bring you new and exciting display solutions. This update includes a family of modules designed to integrate with the Raspberry Pi CM4, some transparent LCDs, a family of 2.8″ TFTs, and a few updates to products to ensure long availability with minimal design changes required.
Raspberry Pi CM4 Compatible Modules
New to our product line are two beautiful displays designed to work quickly and easily with the Raspberry Pi Compute Module 4. These displays are crisp 5″ displays with 720×1280 resolution and in-plane switching (IPS). These modules include easy mounting for compute module, and break out a ton of functionality onto a variety of headers.
Features include:
- 5 inch TFT, 1280×720 high pixel density, high-brightness display
- Multi-touch capacitive or non-touchscreen options
- Raspberry Pi CM4 based (quad-core 64bit SoC @ 1.5GHz, 1/2/4/8GB RAM options, microSD or 8/16/32GB eMMC storage options)
- A full Raspberry Pi standard 40 pin IO header
- Compact expansion header access to PCI-E, HDMI, SPI and Ethernet
- An extra six GPIO lines from an on-board I2C IO expander IC
- Battery backed up real time clock
- Flexible power supply options (barrel-jack, Micro USB or PCB header)
Available both as a non-touch module or a capacitive touch module, these display modules are a fantastic choice for your compute module based product!
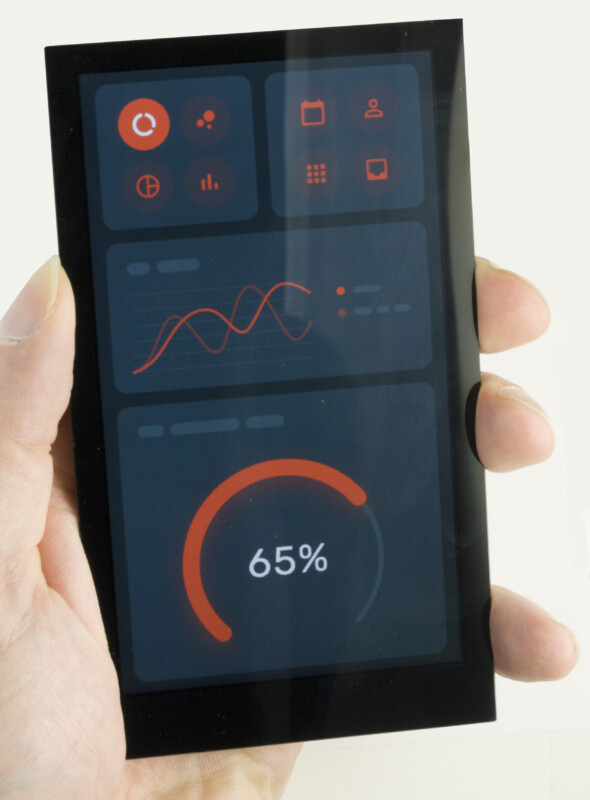
Transparent LCDs
Also new are our transparent LCDs. We offer these transparent LCDs in two sizes – the 1.1″ transparent LCD and the 2.2″ transparent LCD. These displays hugely outperformed our expectations, so they are back ordered at the time of writing. We hope to be shipping them again in the next month or so!
If you’ve seen our DIY transparent LCD tutorial, these displays are like those, but done for you! These displays work with our graphic LCD adapter board.

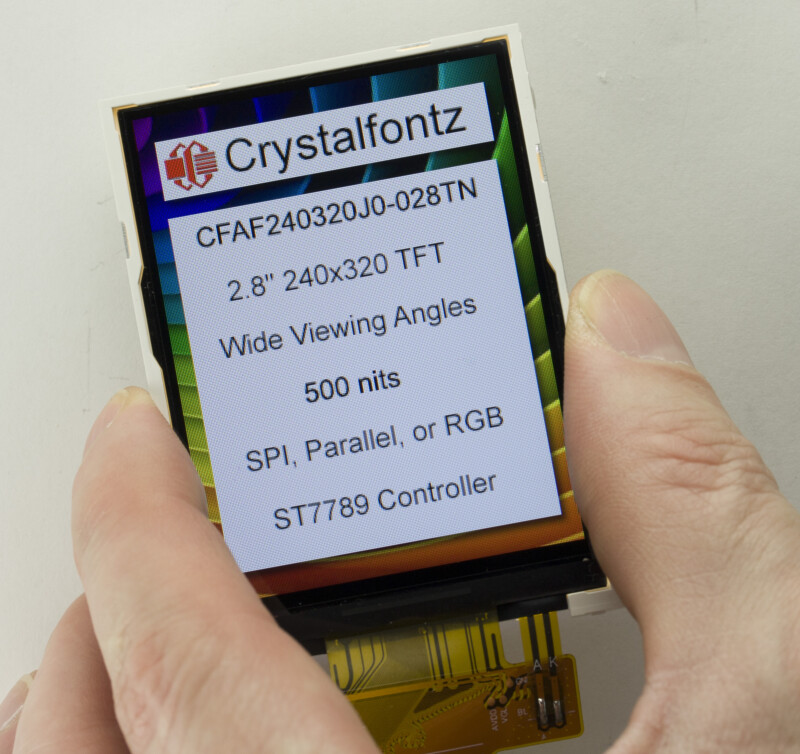
2.8″ TFTs
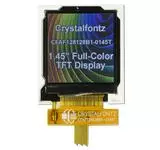
Coming in on the diagonal between our popular 2.4″ and 3″ displays, we are now offering a 2.8″ display family. These displays are IPS, and support SPI interfacing in addition to 18-bit parallel and RGB. Plus, if you’re already using our 2.4″ displays, these displays use the same controller IC and have the same resolution, so it’s easy to migrate to a slightly larger TFT.
This family includes a non-touch version and a resistive touch version as off-the-shelf offerings. If you’re interested in a capacitive touch version, let us know! Minimum order quantities may apply.
Part Number Changes
As much as we try to avoid changing parts, sometimes it’s inevitable. These parts have recently been updated to ensure they are available for the long run.
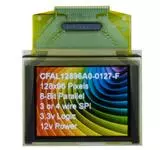
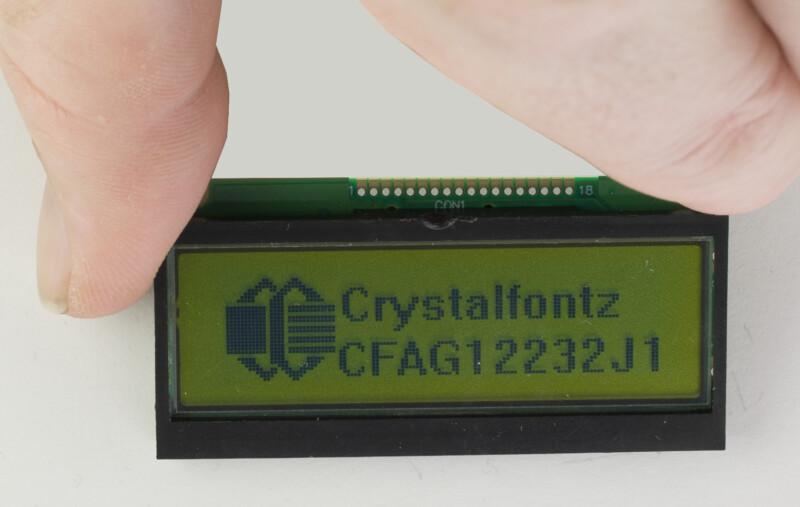
First up is this little 122×32 pixel graphic LCD. The controller IC went end-of-life forcing us to adopt a different controller IC. This new model is fully compatible with the previous version.
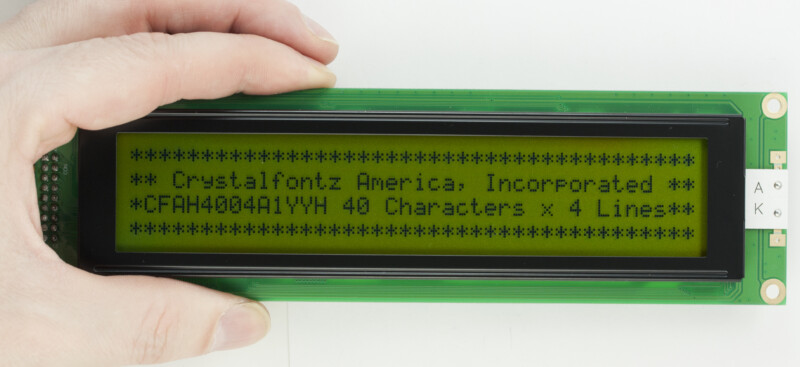
Next is this large 40×4 character display. The bezel on this display was updated to improve manufacturability.
Contact Us
If you have any questions, we can be reached at support@crystalfontz.com, we also provide chat and telephone support Monday through Friday during our open hours.
We love to hear about your projects! Find us around the web (YouTube, Facebook, Instagram, LinkedIn, Twitter, Forum) and let us know what you’re working on.

Kelsey is an engineer at Crystalfontz. She graduated from Gonzaga University with a BS in Electrical Engineering. Kelsey’s roles at Crystalfontz include customer support, documentation, product demonstrations, and design.
What our customers say about Kelsey:
“As a new user to the world of LCD electronics, Kelsey has been a Godsend in providing the hand-holding I needed to get my project up and running despite my own efforts at fouling things up! :-)” – Owen M
“Kelsey got me through changing code for a new LCD in only two short emails.” – Phillip V
“The agent that I talked with (Kelsey), is technically sound and she knows what she is doing. The support is what made my job easier to get started with the different display technologies. Thank you!” – Vatsal S
Setting Up Your EVE Display: A Quick Guide
Have you just purchased one of our Embedded Video Engine (EVE) displays and are wondering how to get up and running? This blog post aims to help users get started with their newly received EVE displays from setting up the hardware to running various demos. Before we jump in, if you have not already, take a moment to read our blog post on FTDI/Bridgetek Embedded Video Engine (EVE) Modules to get an idea of the various functionalities that the EVE makes possible and what makes them so great!
Setting up the hardware
This section outlines how users need to interface an EVE display with their microcontroller so they can try out our demo code. Our demo code uses a Seeeduino (Arduino UNO clone that operates at 3.3V), however, can be modified to work with most 3.3V, SPI-capable microcontrollers. If you purchased any of our development kits such as the CFA800480E3-050SC-KIT or the CFAF1024600B0-070SC-A1-2, you can skip this section as they are shipped completely wired, ready to be plugged into a PC.
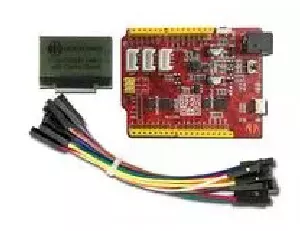
Components needed:
- Any EVE accelerated display
- EVE breakout board
- A 30-pin FFC cable (6-inch, 12-inch)
- Jumper wires
- Any 3.3V, SPI-capable microcontroller of your preference. We use a Seeeduino (Arduino UNO clone) in our development kits
First, connect the 30-pin FFC to J_HOST on the EVE display and connect the other end of the cable to J_DISPLAY on the breakout board, aligning pin 1 of each connector. Once connected, wire the EVE breakout board to the microcontroller as per the table below (NOTE: this setup follows the pin declarations used in our demo code).
| Adapter Board Pin (CFA10098) | Seeeduino Pin |
| Pin 1: 3.3V (Power) | 3v3 |
| Pin 2: GND (Ground) | GND |
| Pin 3: SCK (Serial Clock) | D13 |
| Pin 4: MOSI (Serial Data Out) | D11 |
| Pin 5: MISO (Serial Data In) | D12 |
| Pin 9: CS (Chip Select) | D9 |
| Pin 10: INT (Interrupt) | D7 |
| Pin 11: PD | D8 |
| Pin 14: GND (Ground) | GND |
Once wired, plug in the MCU to your PC. For the CFAF1024600B0-070SC-A1 an external power supply capable of sourcing 5V at 1A will be required to drive the display backlight. To connect the power supply to the adapter board, ensure the “BL=3v3” jumper is open and connect the positive terminal to pin 1 of J_BL_PWR and the negative terminal (GND) to pin 2.
Software setup and navigating our demonstration code
Our demo code, available under the “Files and Downloads” section of each product page or on our GitHub repository, will be used to bring up the display wired in the previous section. Download the package and open the files in your preferred IDE. Once open, navigate to the file named “CFAxxx_defines.h” where xxx will vary based on the display used. The different demos are turned on and off through defines as shown in the image below:
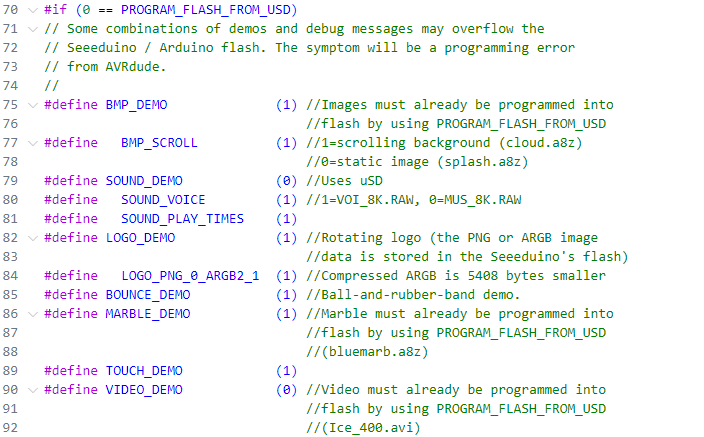
Setting a demo to 1 will turn it on and vice versa. The number of demos that can be run at a single time is limited by the MCU memory. After selecting the demos, the sketch can be uploaded to the MCU and observed on the EVE. If you are interested in looking into how each demo works and is put together, navigate to the file named “demos.cpp” and find each #define you are interested in.
Additional libraries and references
The command set used in our demo code is derived from the Bridgetek Programmer’s Guide. The guide provides more insight into the various display list commands, register descriptions, and drawing lists found in our demo code. Additionally, it provides users with examples of how they can achieve specific functionality. Some users may also find the Camera to EVE Application Note an interesting demonstration of the hardware capabilities made possible via EVEs.
Don’t forget to read our blog post on how to put up custom images on EVE displays if the default BMP and LOGO demos are too boring for you (or if you would prefer to get a visualization of a more realistic application image).
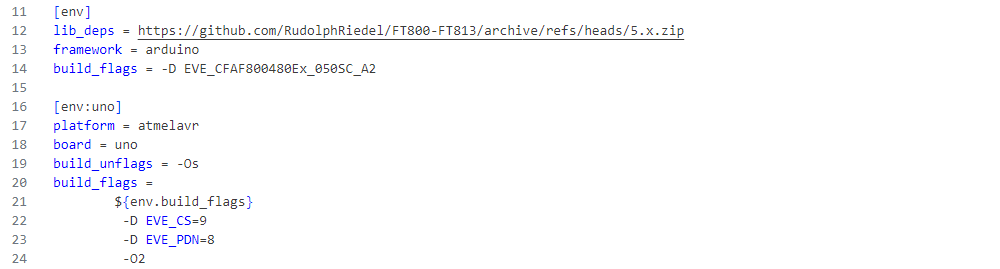
Finally, this GitHub Repository by RudolphRiedel may prove useful if you want to try out more EVE-compatible examples. The library has been put together with several MCUs in mind and may be useful if you want a working example for your MCU with few/no modifications being required. To try out an example with one of our displays, add a define to the “platformio.ini” file similar to that shown below:
Contact us
If you have any questions, we can be reached at support@crystalfontz.com, we also provide chat and telephone support Monday through Friday during our open hours.
We love to hear about your projects! Find us around the web (YouTube, Facebook, Instagram, LinkedIn, Twitter, Forum) and let us know what you’re working on.

Khayam is an Electrical and Electronic Engineer who migrated to the United States in 2022. He is a passionate academic interested in emerging technologies in the fields of AI and Robotics.
Hobbies
In his free time, Khayam enjoys watching Anime, reading Manga, and working on Digital Art. His favorite pastimes include; spending time with his girlfriend, gaming with friends, and catching up with his family.
Custom Images on EVE Displays
A frequent question that is received by our support team is how to load custom images on our EVE lineup of displays. Due to differences in the EVE processors between boards and other factors, depending on the display you have, the process may change. The different processes for the boards have been outlined below. The only software required is the handy EVE Asset Builder (EAB) available on Bridgetek’s website here.
Images from SD Card
The process outlined below is for an SD card loaded with your image. To program an image to the Arduino’s flash memory without the use of an SD card, keep reading!
EVE BT817 Boards
Our displays that use this processor on their EVE carrier board are as below:
- 5″ displays: CFA800480E3-050SC, CFA800480E3-050SN, CFA800480E3-050SR, CFA800480E3-050SW
- 7″ displays: CFAF1024600B0-070SC-A1
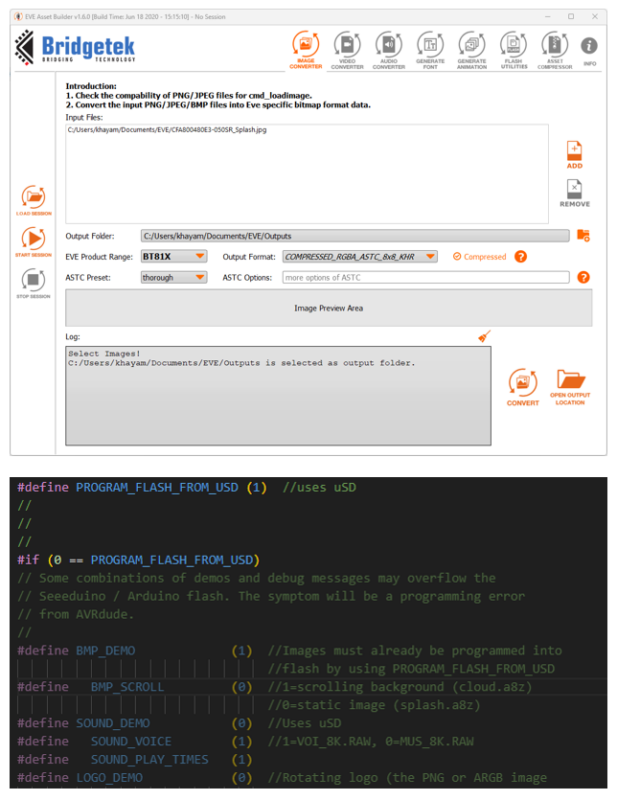
- Select the image you would like to display (perhaps the most important step!), in this example, I will be using a Crystalfontz splash screen for our 5″ lineup
- Open EAB and load the image selected. Specify the output folder and select BT81x as the EVE product range. Set the output format to “COMPRESSED_RGBA_ASTC_8x8_KHR”, check compressed, and set the ASTC Preset to thorough
- Press convert and open the output directory. Rename the resulting ***.bin file to “splash.a8z” (the extension must be changed)
- Copy the renamed file to the SD card
- In our demo code, for the display you have, set “PROGRAM_FLASH_FROM_USD” to 1. This line is located in the CFA10XXX_defines.h file. Once changed, upload the sketch to the Arduino/Seeeduino
- Open the serial monitor at 115200 baud and copy the output lines corresponding to lines 92-101 of CFA10100_defines.h or 96-105 of CFA10108_defines.h Not getting an output? Perhaps “DEBUG_LEVEL” in CFA10XXX_defines.h is set to “DEBUG_NONE”. Please try again with it set to “DEBUG_STATUS” or “DEBUG_GEEK”
- Paste the lines in CFA10XXX_defines.h overwriting the existing data
- Set “PROGRAM_FLASH_FROM_USD” to 0 and set “BMP_DEMO” to 1 and upload the sketch
- Your image should now be displayed
EVE FT811 Boards
Our displays that use this processor on their EVE carrier board are as below:
- 2.4″ displays: CFA240320E0-024SC, CFA240320E0-024SN
- 3″ displays: CFA240400E1-030TC, CFAF240400E1-030TN
- 3.9″ displays: CFA480128E0-039TC, CFAF480128A0-039TN-A1-1
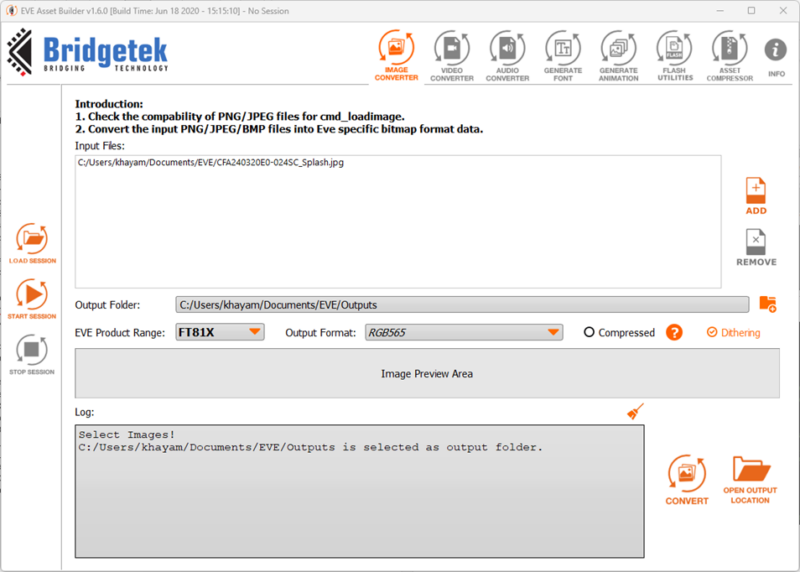
- Select the image you would like to display. Like with the case of the previous example, I will be using a Crystalfontz splash screen
- Open EAB and load the image selected. Specify the output folder and select FT81x as the EVE product range. Set the output format to “RGB565” and uncheck compressed
- Press convert and open the output directory. Rename the resulting ***.raw file to “SPLASH.RAW” (the extension must be changed and the name is case sensitive)
- Copy the renamed file to the root of the SD card, set “BMP_DEMO” to 1 in “CFA10XXX_defines.h” and upload the sketch
- Your image should now be displayed
Images from Flash
What if you need to change the images written to the Arduino’s flash memory (when “LOGO_DEMO” or “LOGO_PNG_0_ARGB2_1” is set to 1)? Well look no further, the process is outlined below.
PNG Logos
- Select the image you would like to display. Preferably a small 300×300 (or similar) image
- Provide the image as an input to the following website: https://lvgl.io/tools/imageconverter
- Set the color format to “CF_RAW” and the output format to “C array”. Uncheck dithering and click convert
- Open the resulting file (in .c format). Copy the array of data to the location where the PNG file is stored, “Round_Logos.cpp”, “CFA240320E0_024Sx_Splash_PNG.cpp”, etc.
- At the bottom of the .c file generated previously, copy the size to the corresponding header file (of the previous cpp that the array was copied to)
- Set “LOGO_DEMO” to 1 (“LOGO_PNG_0_ARGB2_1” should be set to 0) and upload the sketch
- Your image should now be displayed
ARGB2 Logos
- Select the image you would like to display, preferably a small 300×300 (or similar) image
- Index the image to 4 colors (this can be done using the editing software GIMP). This is done to reduce the size of the image
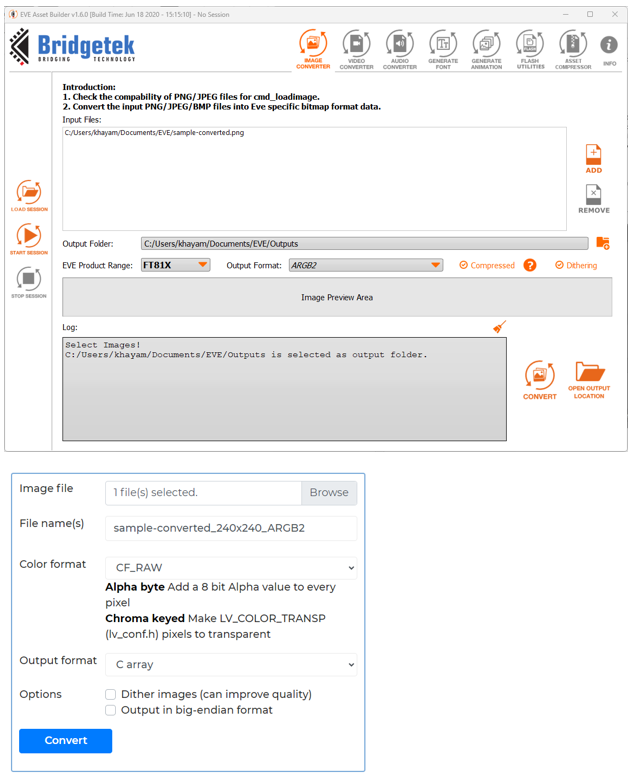
- Once indexed, load the image to EAB. Select FT81x as the EVE product range and the output format as ARGB2. Check compressed
- Select convert and open the output directory. Provide the ***.bin file as an input to the following website: https://lvgl.io/tools/imageconverter
- Set the color format to “CF_RAW” and the output format to “C array”. Uncheck dithering and click convert
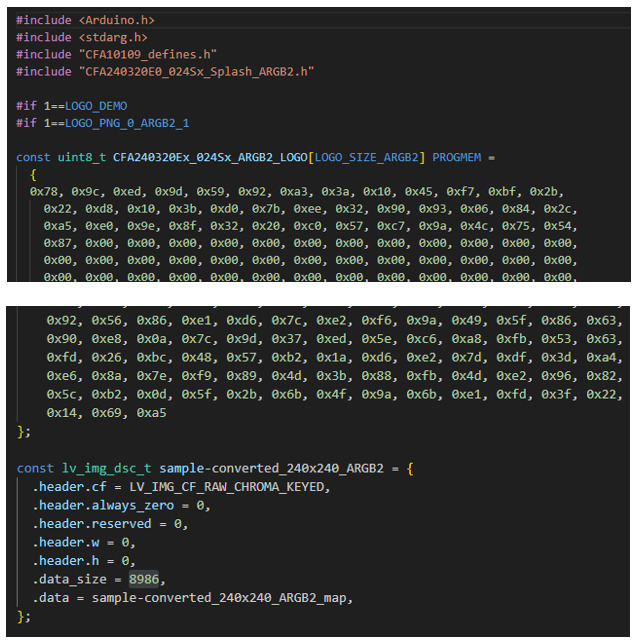
- Open the resulting file (in .c format). Copy the array of data to the location where the ARGB2 file is stored, “Round_Logos.cpp”, “CFA240320E0_024Sx_Splash_ARGB2.cpp”, etc.
- At the bottom of the .c file generated previously, copy the size to the corresponding header file (of the previous cpp that the array was copied to)
- Set “LOGO_DEMO” and “LOGO_PNG_0_ARGB2_1” to 1 and upload the sketch
- Your image should now be displayed
Contact Us
If you have any questions, we can be reached at support@crystalfontz.com, we also provide chat and telephone support Monday through Friday during our open hours.
We love to hear about your projects! Find us around the web (YouTube, Facebook, Instagram, LinkedIn, Twitter, Forum) and let us know what you’re working on.
Khayam is an Electrical and Electronic Engineer who migrated to the United States in 2022. He is a passionate academic interested in emerging technologies in the fields of AI and Robotics.
Hobbies
In his free time, Khayam enjoys watching Anime, reading Manga, and working on Digital Art. His favorite pastimes include; spending time with his girlfriend, gaming with friends, and catching up with his family.
Buy Everything You Need to Get Up and Running
Browse our catalog of LCD development kits, breakout boards, cables, ZIF connectors and all of the LCD software and drivers you need to develop your product or project. We are located in the U.S. so we can get product to you fast!
 LCD Development Kits
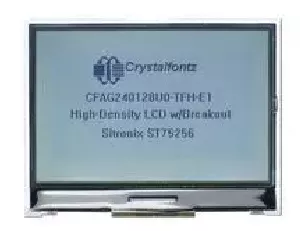 Breakout Boards
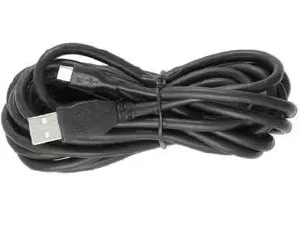 Cables & Wiring
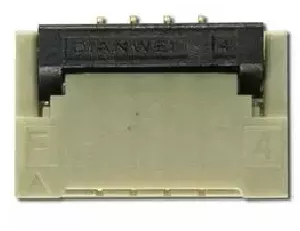 ZIF Connectors
 LCD Software
 USB LCD Drivers
What Our Customers Are Saying
Need some help?
- Search by Tech Spec
Search by size, controller, interface, etc - Ask our product support team
We're here to help! 8:30-4:30 PST 888.206.9720 - Product Notices
Sign-up for part change or update notices - Newest products!
We're adding new displays all the time.
- Quick Order
Know your part number? Checkout fast! - Request a Quote
Get pricing and lead time info! - Our ISO 9001:2015 Certificate
Of course we're ISO 9001:2015 certified - Conflict Mineral Reporting Template
Download our latest CMRT - California Prop 65
Proposition 65 Information - Payment Information
We accept many payment methods